Advanced Launch Configurations
Beyond the Quick Start and Configuring MoveIt Studio guides, there are many advanced ways to install and run MoveIt Studio, discussed here.
Run MoveIt Studio Processes in Separate Terminals
MoveIt Studio consists of multiple applications, all of which run on separate Docker containers.
drivers: (Optional) The application for connecting to arm hardware drivers, if managed by MoveIt Studio.agent_bridge: Contains core processes for loading and running Objectives, as well as the application layer to connect to the front end, known as the bridge.rest_api: Application layer to provide configuration and storage access to the front end.frontend_agent: Application layer to provide packet transport between the backend and the user interface.web_ui: The frontend application run in the browser.
In the provided docker-compose.yaml, each application can be run separately by running the following commands in 5 different terminals:
docker compose up rest_apidocker compose up agent_bridgedocker compose up frontend_agentdocker compose up web_uidocker compose up drivers
Depending on your specific setup, you can launch these applications on different machines. For an example, refer to the Getting Started with Hardware section.
Build and Test Your Workspace
If you mounted a user workspace from your host into MoveIt Studio, the packages in that workspace will be mounted to the /opt/moveit_studio/user_ws folder inside the relevant containers.
This gives you access to a few more useful Docker services:
workspace_builder: Rebuilds your user workspace by callingcolcon build. This is useful when you are modifying source code and need to confirm that the changes compile correctly.workspace_test: Runs tests for your user workspace by callingcolcon test. This is useful to ensure that source code changes have not caused any existing tests to fail.
These services are runnable using the commands ./moveit_studio build and ./moveit_studio test, respectively.
Introspecting in MoveIt Studio
The MoveIt Studio web app displays key information (such as Objective successes or failures) and has a Logs section with more information. However, during your development you may need to analyze results in more detail.
Changing Logging Levels
You can edit your docker-compose.yaml file to change the ROS 2 logging severity.
For example, you can change the logging level of the agent_bridge service from its default value of warn to info by adding info to its launch command as shown below:
agent_bridge:
   # Other arguments
   # ...
   command: agent_bridge.app info
After restarting MoveIt Studio, you should see more information being displayed in the Logs section.
Using the ROS 2 Command-Line interface
From the current MoveIt Studio install folder, you can open an interactive Bash session with the MoveIt Studio Agent Docker container:
./moveit_studio shell
Once you are inside the container, ensure to source the MoveIt Studio workspace. Then, you can use the ROS 2 command-line interface (CLI) to introspect nodes, topics, and more.
source /opt/overlay_ws/install/setup.bash
ros2 node list
ros2 topic echo /joint_states
If you mounted a user workspace from your host, you should instead source that workspace using:
source /opt/moveit_studio/user_ws/install/setup.bash
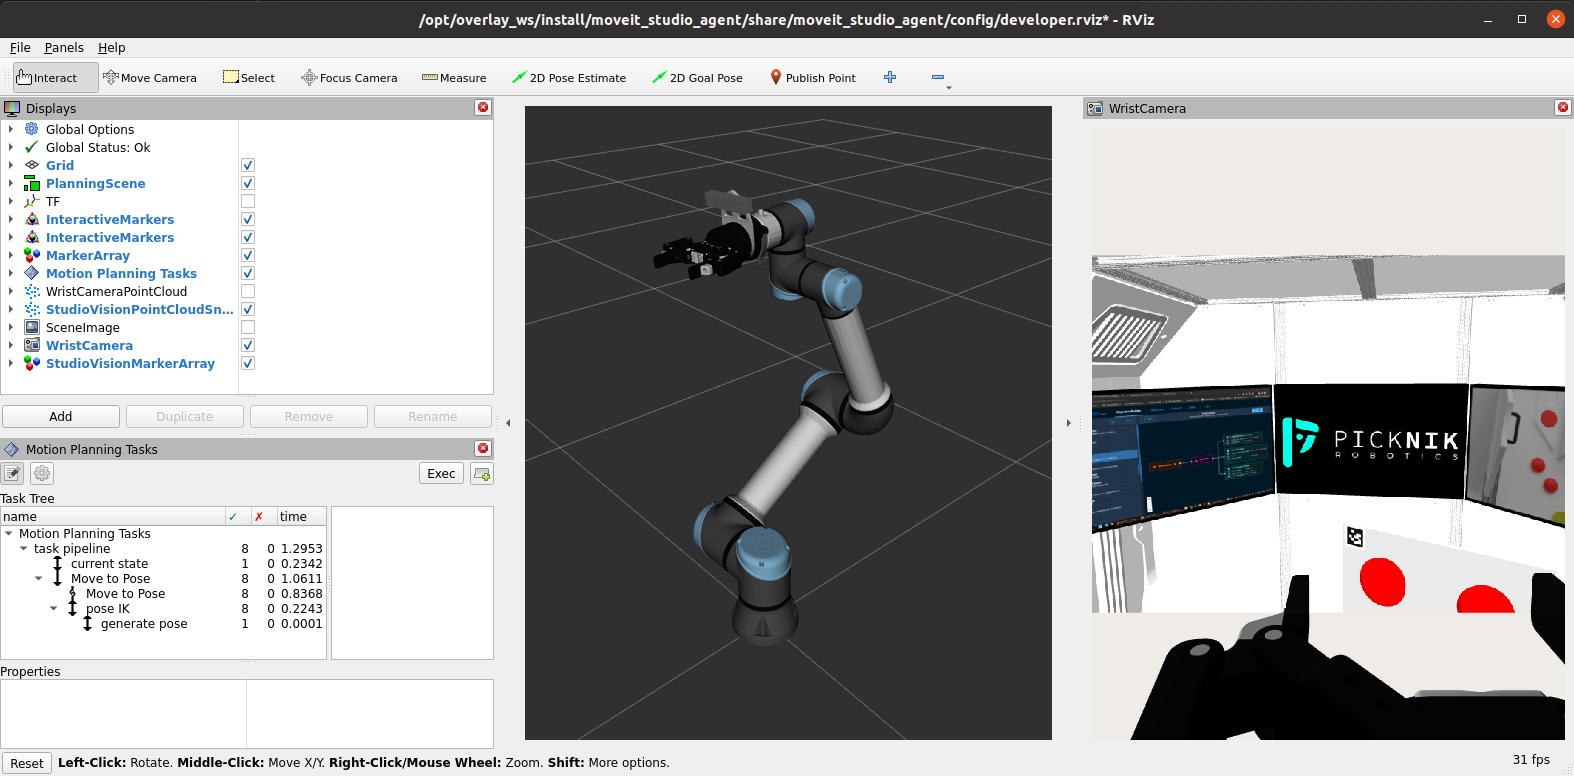
Visual Debugging with RViz
MoveIt Studio provides a default RViz configuration for visual debugging. For example, this easily lets you analyze camera feeds, the TF tree, motion planning results, and more.
./moveit_studio rviz