Quick Start
A license key is required to run MoveIt Studio; if you do not already have one please contact us for more information. By downloading the MoveIt Studio software you are agreeing to the Terms and Conditions.
Supported Operating Systems
MoveIt Studio runs on Ubuntu natively, but we also support Windows and macOS through virtual machines. Choose your computer’s operating system from below:
Ubuntu Linux 20.04 or 22.04 is our recommended operating system for best performance.
Note: Our installation process will not install ROS or MoveIt on your host machine, and will not affect any existing ROS workspaces or configurations you may have.
Mac support requires Parallels for hardware virtualization.
Follow the instructions to install Parallels on your Mac.
Follow the instructions to install Linux in a Parallels VM, selecting “Download Ubuntu Linux” from the options.
- Once the installation is finished, adjust the VM’s allocated Hardware settings:
Shut down the VM via the “Actions” menu and select “Shut Down”
From the “Parallels Desktop” application select the “Windows” menu and select “Control Center”
Open the Settings menu from the gear icon of your Ubuntu virtual machine.
Select the “Hardware” tab in the configuration window.
Select “CPU and Memory” and select at least 6 processors and 6 gigabytes of RAM for optimal performance.
Restart the VM to continue installing MoveIt Studio
Windows support requires VMware for hardware virtualization. Note we do not currently support the Windows Subsystem for Linux (WSL) due to its separate networking stack.
Download VMware Workstation Player.
Follow the VMware install instructions.
Download the Ubuntu 22.04 ISO. The download is ~4.6 GB, which can take many minutes depending on your network speed.
Create a new VM in VMware Workstation Player and install Ubuntu 22.04 using the downloaded ISO.
Once the installation is complete, shut down the VM and open the VM settings menu using Ctrl+D.
If VMWare shuts down completely, re-open the application from the start menu, select your VM from the left menu, and then choose ‘Edit virtual machine settings’ in the right hand window.
In this menu you will want to increase the amount of memory allocated to the virtual machine. We recommend using at least 8 GB of memory.
Ensure that “Side Channel Mitigations” are turned off, if the option is available. This option is not available in the free version of Workstation Player.
For the full system requirements see the Tech Specs.
Docker Installation
MoveIt Studio uses a Docker-based install to make ROS dependency management and compatibility easier. Note we do not currently support Docker Desktop due to its separate network stack. Check if you already have Docker by running in a terminal:
docker run hello-world
If Docker is not installed, click here.
Install Docker by either following the two hyperlinks below, or simply copy paste the below commands into your terminal:
Docker’s post-installation steps to ensure you can run without
sudoprivileges.
Quick Docker installation commands:
curl -fsSL https://get.docker.com -o get-docker.sh
sudo sh get-docker.sh
sudo groupadd docker
sudo usermod -aG docker $USER
newgrp docker
After Docker installation, verify that you can run docker commands without sudo. Note you will need to log out and log back into your computer for this to work in new terminals without having to enter newgrp docker every time.
docker run hello-world
Install MoveIt Studio
Simply run in a terminal:
curl -sq https://docs.picknik.ai/en/2.7.0/install_moveit_studio.py --output installer.py && python3 installer.py
Then follow the prompts. Go get a coffee ☕. This requires a ~2 GB download your first time, and might take a few minutes.
Run MoveIt Studio
Next, let’s start MoveIt Studio using an example UR5e robot with a non-physics simulator:
cd $HOME/moveit_studio
./moveit_studio run -c picknik_ur_mock_hw_config
This will launch the web app in your default browser at http://localhost/ that should look like this:
If you have any issues, questions, or feedback
Join the Discord server
Email support@picknik.ai
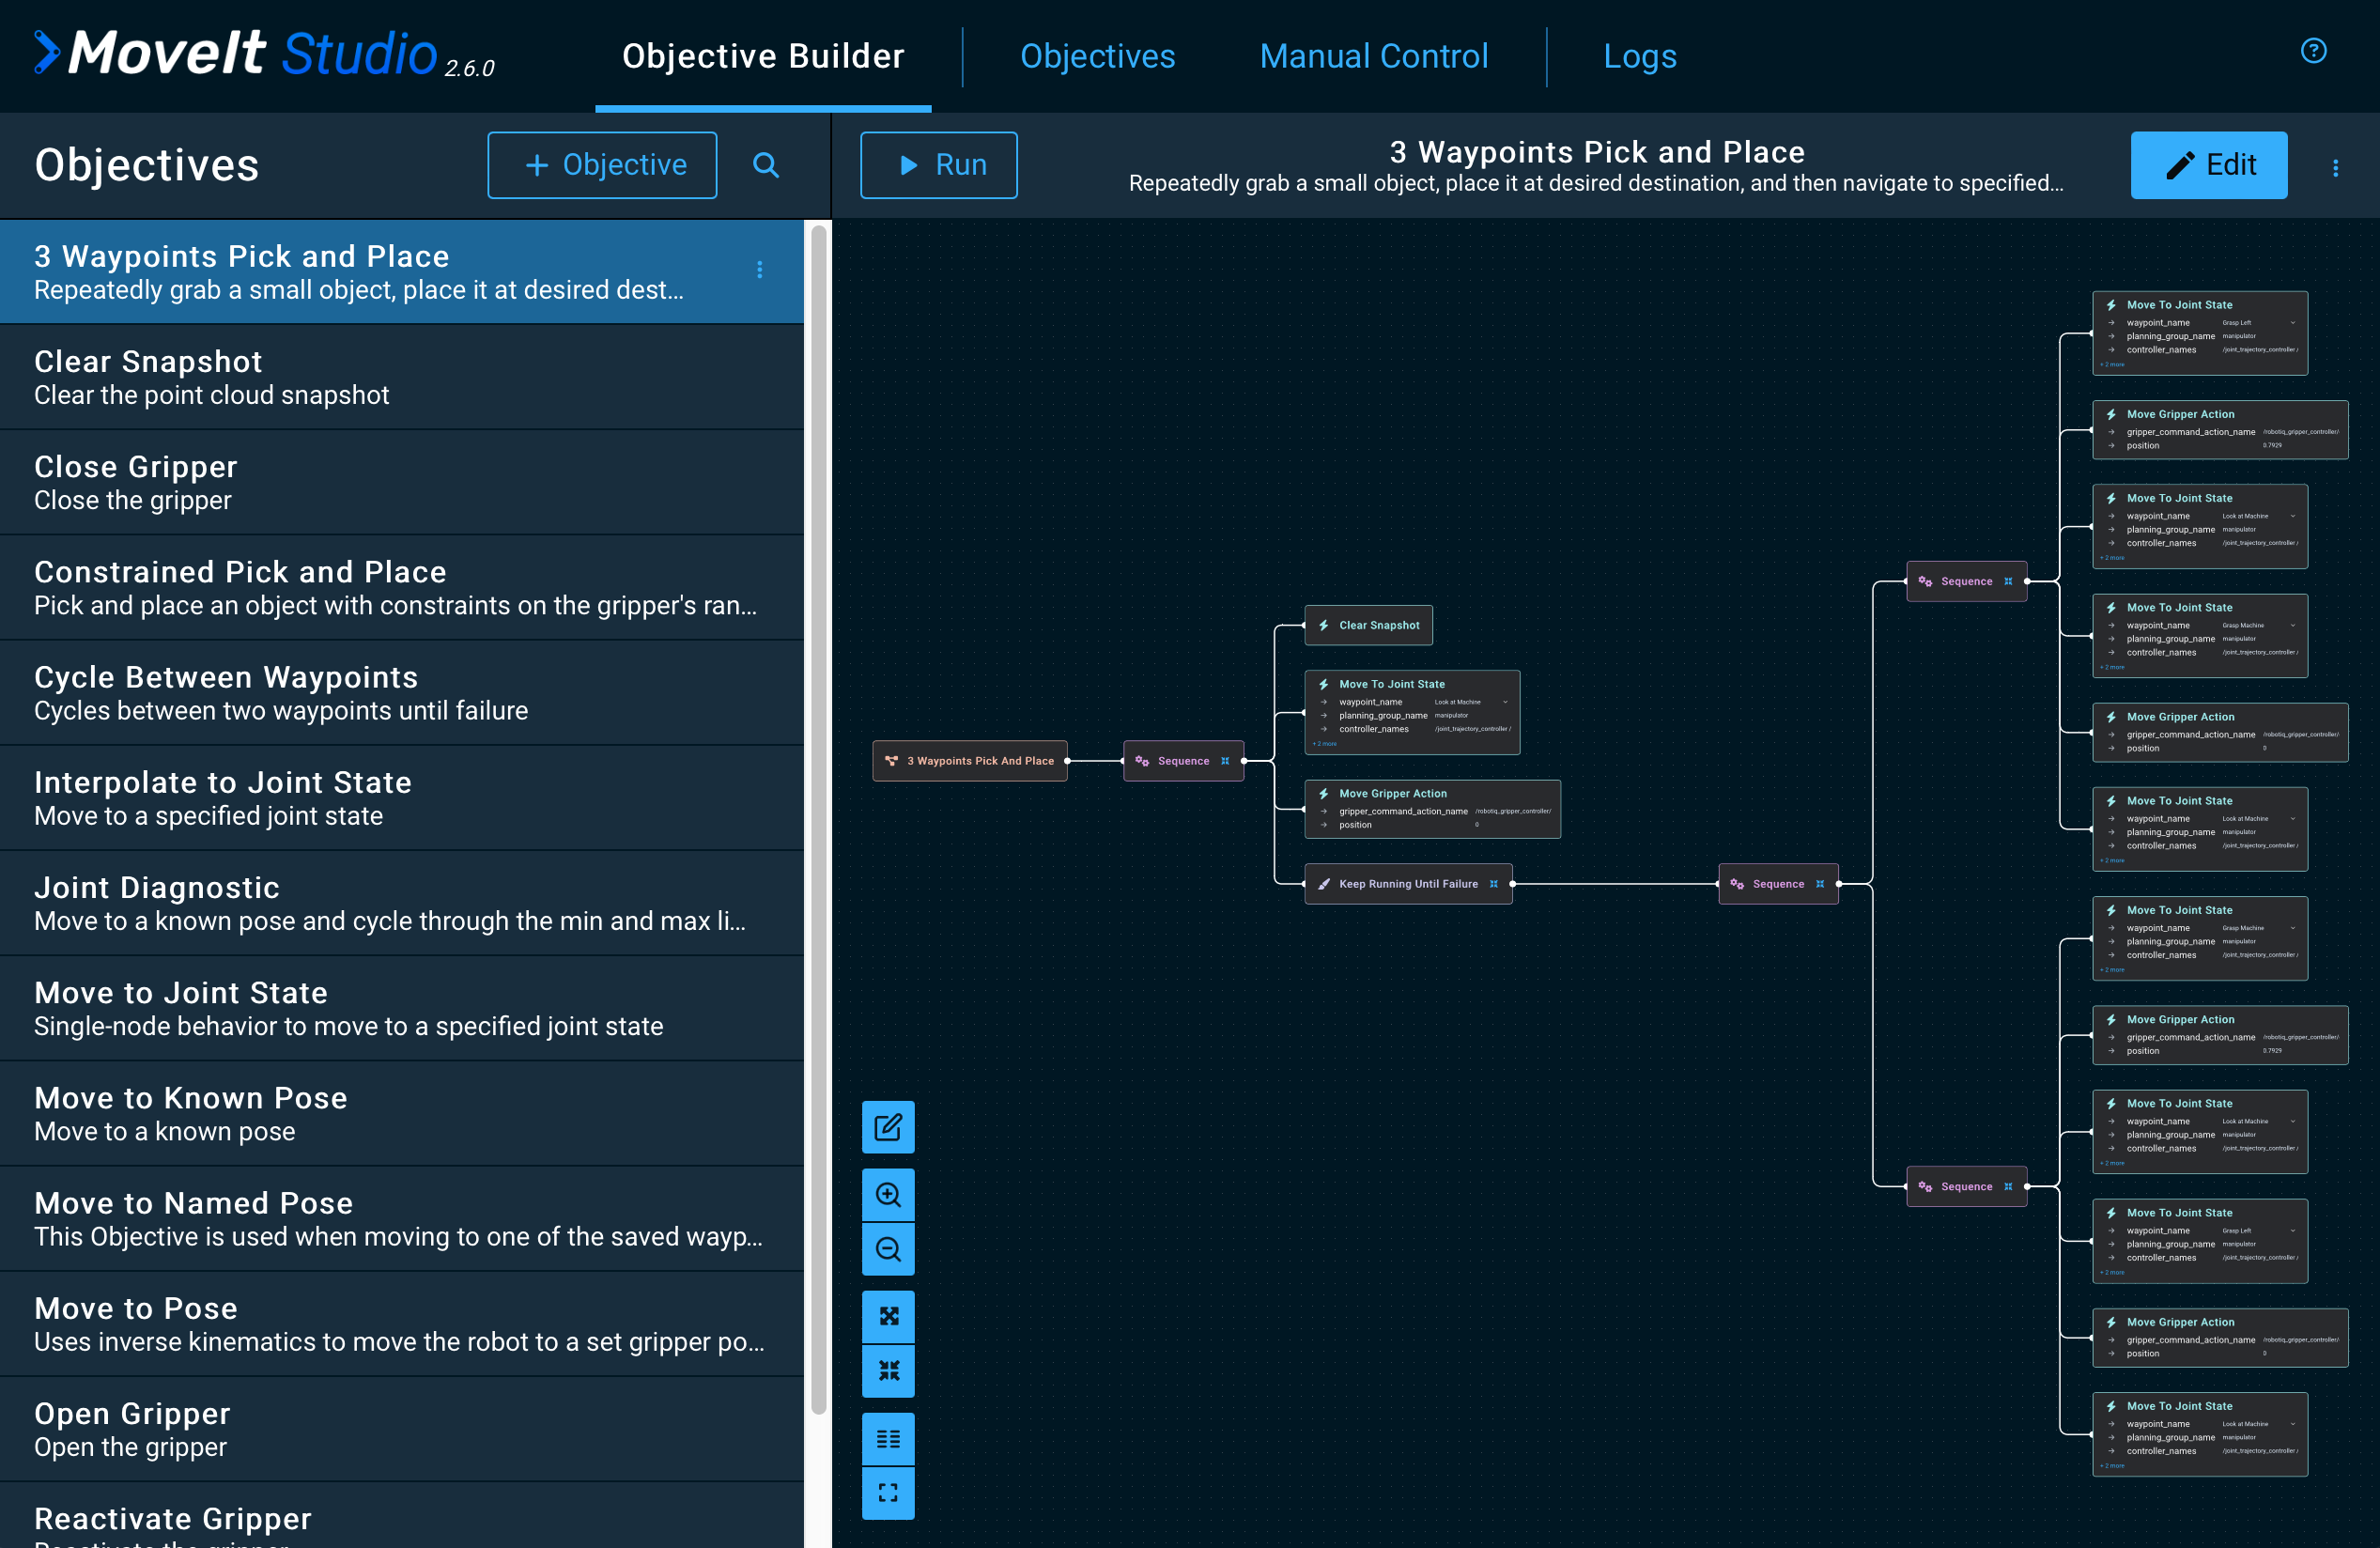
Start Example Application
To quickly see an example application (an “Objective”) click the “Run” button on the “3 Waypoint Pick and Place” Objective that should be selected by default when the application starts. You should now see the UR5e doing a very simple motion plan, and you can also introspect how it runs by expanding the Behavior Tree window on the right:
Externally Trigger MoveIt Studio using Python API
Typically MoveIt Studio is integrated into your existing codebase and tech stack - this is possible using our Python API tutorial. It will explain how to use ROS to start and stop Behaviors using Python code, but this same approach can be used for other languages with a command-line interface capable of sending ROS 2 action goals, such as C++, Rust, or MATLAB.
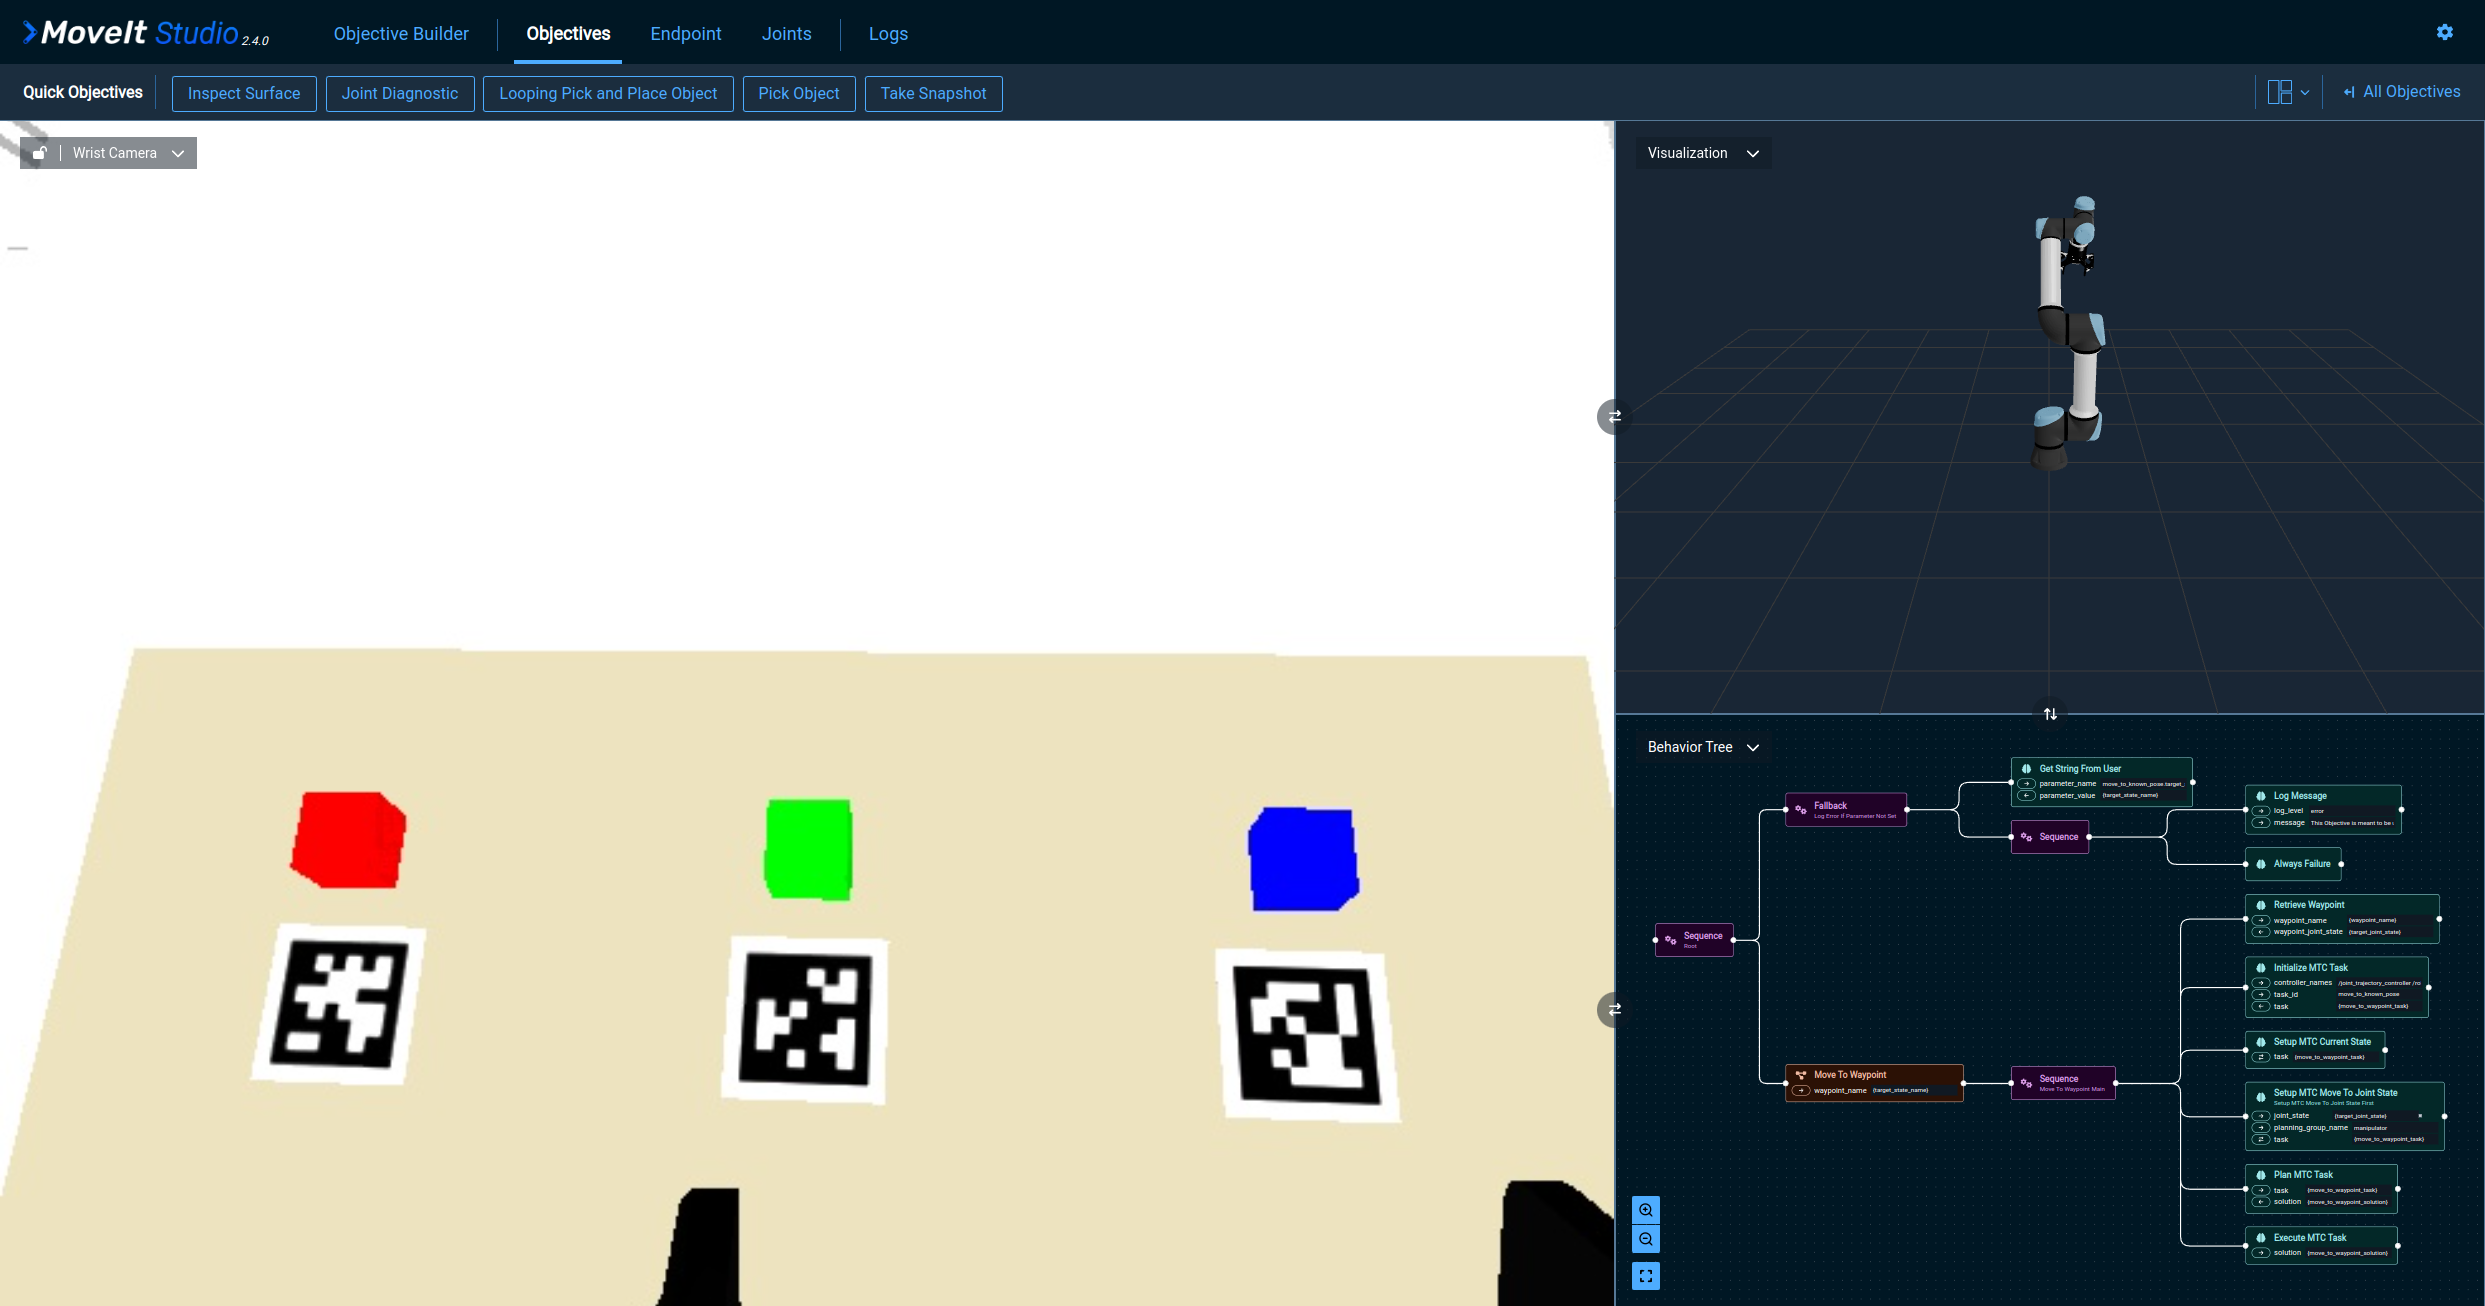
Simulate Computer Vision and Physics
By default, MoveIt Studio’s simulator does not use physics in order to reduce the installation complexity, GPU requirements, and computational load on your computer. However, MoveIt Studio includes an optional Gazebo integration that unlocks more advanced features that are otherwise only available when connected to hardware such as simulated camera feeds. To try out the experimental physics simulator with MoveIt Studio:
Close any existing instances of MoveIt Studio running using Ctrl-C on the command line.
Next, re-launch with the following command to bring up the example UR5e again but this time in Gazebo:
cd $HOME/moveit_studio
./moveit_studio run -c picknik_ur_gazebo_config
You should now see MoveIt Studio with simulated camera feeds that allows our various computer vision algorithms to be tested. For more details see the Gazebo integration tutorial.
Next Steps
To continue exploring MoveIt Studio, check out our next tutorial Running an Objective.
Uninstalling MoveIt Studio
To completely remove MoveIt Studio from your computer, including all user created configurations, run the following, changing $HOME/moveit_studio to your install path if you chose a different one during the install process:
cd $HOME/moveit_studio
./moveit_studio uninstall
Upgrading MoveIt Studio
The process to upgrade to a newer version of MoveIt Studio is currently experimental and may not always work if major changes to the install or configuration process have happened between releases.
For best results, make sure you follow the uninstall instructions using the documentation for your current version, and the installation instructions using the documentation for your desired new version.
To upgrade MoveIt Studio:
Remove the current version of MoveIt Studio as described in Uninstalling MoveIt Studio.
Continue to the Install MoveIt Studio section above, choosing the newer version when prompted. The installation script for the version you’re upgrading to can be run from any directory.
See Release and Migration Guides for updating to specific versions in case there are breaking changes that require additional steps for cleanly upgrading.