Quick Start Install
Welcome to the world's most powerful platform for robot arm manipulation!
A license key is required to run MoveIt Pro; if you do not already have one please contact us for more information. By downloading the MoveIt Pro software you are agreeing to the Terms and Conditions.
Supported Operating Systems
MoveIt Pro runs on Ubuntu natively, which we recommend for the best experience using MoveIt Pro. For the full system requirements see the MoveIt Pro Tech Specs.
MoveIt Pro uses Docker to avoid installing ROS or MoveIt on your host machine, and will not affect any existing ROS workspaces or configurations you may have.
Choose your computer's operating system:
- Ubuntu
- Debian
- macOS
- Pop!_OS
- Windows
Ubuntu Desktop 24.04 is our recommended version of Ubuntu, though we also support Ubuntu 22.04.
Debian Bookworm is supported for MoveIt Pro, especially for real-time operating system needs.
Mac support requires hardware virtualization, and we support the usage of Parallels through the following steps. Advanced users may use a hypervisor of their choosing without PickNik support.
- Follow the instructions to install Parallels on your Mac.
- Follow the instructions to install Ubuntu 24.04 Linux in a Parallels VM
- Once the installation is finished, adjust the VM's allocated Hardware settings:
- Shut down the VM via the Actions menu and select Shut Down
- From the "Parallels Desktop" application select the Windows menu and select Control Center
- Open the Settings menu from the gear icon of your Ubuntu virtual machine.
- Select the Hardware tab in the configuration window.
- Select CPU and Memory and select at least 8 processors and 12 GB of RAM for optimal performance.
-
Advanced (optional): Allow using the MoveIt Pro interface from the macOS host by configuring Port Forwarding
- Select Network and click Advanced...
- Click Open Network Preferences...
- In the Port forwarding rules: table click the + button. Add 4 total rules:
- Source Port: 80
- Forward to: Choose your virtual machine
- Destination Port: 80
- Repeat adding rules for ports 3200, 3201, 3202, 3203
- Close out all of the preferences windows
- Restart the VM to continue installing MoveIt Pro.
NOTE: When using Parallels, your Docker daemon may occasionally need restarts to resolve DNS lookup failures when installing or upgrading MoveIt Pro.
There is a known issue where your network configuration can become degraded in long-running virtual machines.
You can address this each time by restarting the virtual machine, or by running this command: sudo systemctl restart docker.
PopOS is considered a Tier 2 supported Linux distro for MoveIt Pro, meaning a few extra steps are required for use. After installing MoveIt Pro on PopOS, you may have to manually rollback your NVIDIA drivers to an earlier version and remove the PopOS apt repository for access to GPU Acceleration and Inference.
Using WSL on Windows is not recommended or supported at this time.
Dependencies Setup
Docker Setup
Check if you already have Docker by running in a terminal:
docker run hello-world
If Docker is already installed, click here.
We do not currently support Docker Desktop due to its separate network stack.
Make sure that your Docker version is from Docker's Apt repositories - the versions from Canonical are very old. You can check this by running
apt-cache policy docker-compose-plugin
and making sure that the installed version (marked with ***) is from https://download.docker.com/linux/ubuntu, not a domain under ubuntu.com.
If Docker is not installed, click here.
We recommend two ways to install Docker:
Easiest
Simply copy paste the below commands into your terminal:
sudo apt-get install curl
curl -fsSL https://get.docker.com -o get-docker.sh
sudo sh get-docker.sh
sudo groupadd docker
sudo usermod -aG docker $USER
sg docker "newgrp $(id -gn)"
More Advanced Follow Docker's official documentation:
- Docker's convenience script
- Docker's post-installation steps to ensure you can run without
sudoprivileges.
Finally
To ensure permissions settings take affect for all terminal sessions, log out and back in to your computer.
Finally, verify that you can run Docker commands without sudo.
docker run hello-world
NVIDIA Setup (Only if you have NVIDIA GPUs)
While MoveIt Pro works with any type of GPU, the NVIDIA Container Toolkit is required for computers that have NVIDIA-based GPUs. If you do not have an NVIDIA GPU the rest of the MoveIt Pro deterministic algorithms and capabilities will still work, but some ML-based examples may perform worse or not at all.
Configure NVIDIA GPUs
Install the nvidia-container-toolkit.
For more information, or to verify that the toolkit is installed properly, see our detailed how-to guide Configuring NVIDIA GPUs
Install and Run MoveIt Pro
To install, run in a terminal:
sudo apt install curl
curl -Lo /tmp/moveit-pro-8.10.2-any.deb https://github.com/PickNikRobotics/moveit_pro_deb/raw/main/picknik/moveit-pro-8.10.2-any.deb
sudo apt install /tmp/moveit-pro-8.10.2-any.deb
moveit_pro run
When you run MoveIt Pro for the first time, it will have several setup prompts. As part of the quick start, we suggest you follow all the recommended settings (Y).
MoveIt Pro will download and build the necessary Docker images and user workspace. This will take a few minutes to complete depending on your internet speed. Go get a coffee or tea ☕.
Experiencing issues installing or running MoveIt Pro?
You can use moveit_pro run -v to see more verbose output, which can be helpful for debugging if for some reasons things don't work right away for you.
For other issues, questions, or feedback:
- Check out our extensive Troubleshooting Guide
- Contact PickNik support
Choosing a robot configuration package
The last configuration step in the terminal should have you choose the robot configuration package. We recommend you choose lab_sim as that package contains our most comprehensive set of example applications, and will load an example UR5e robot on a linear rail.
If you have an existing MoveIt Pro user workspace and robot config, you can set that instead of the default example workspace using the command:
moveit_pro configure --config-package my_config_package --user-workspace path/to/workspace
See the documentation on Advanced Run Commands to learn more.
You can also explore moveit_pro --help for more info.
MoveIt Pro Bringup
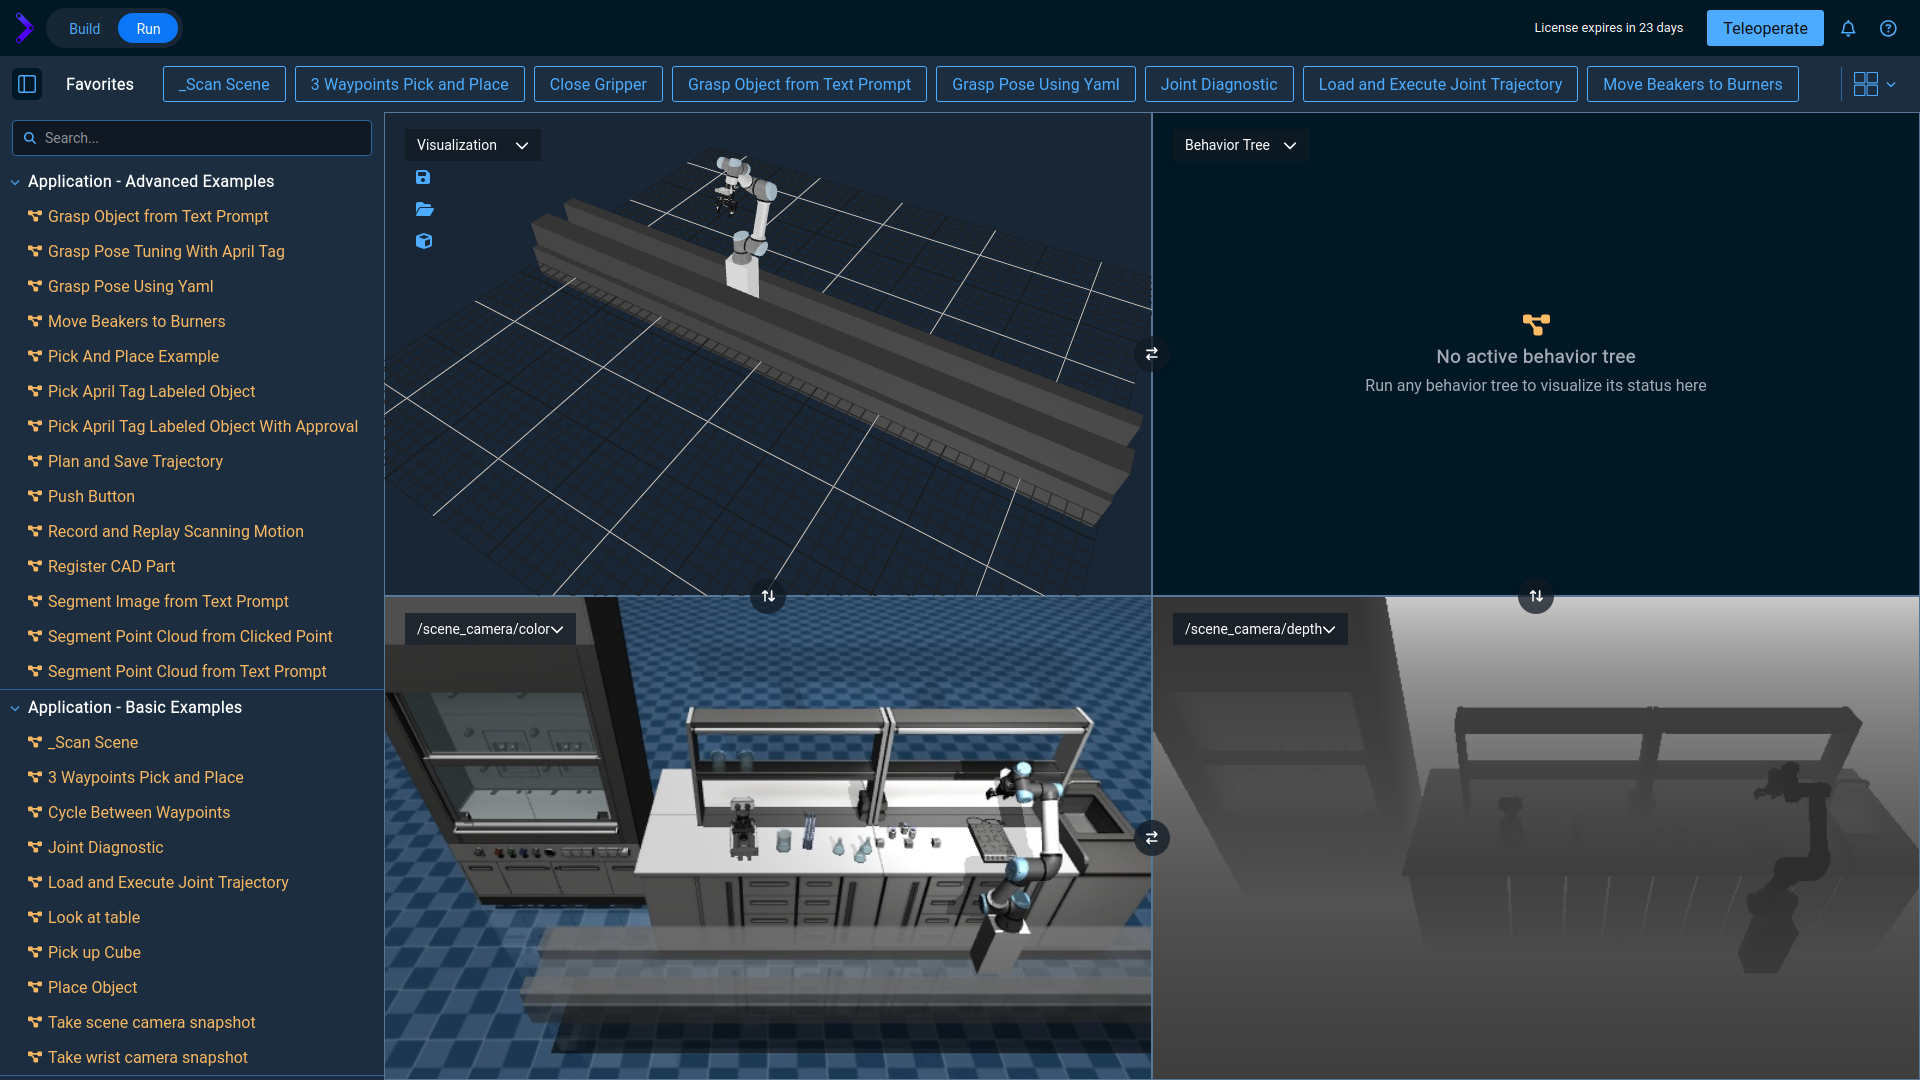
After the configuration and download is complete, MoveIt Pro should start automatically in your browser.
The MoveIt Pro Runtime will load in the background, and the MoveIt Pro Developer Platform user interface will launch in your default browser.
You should see the following:
Start An Example Application
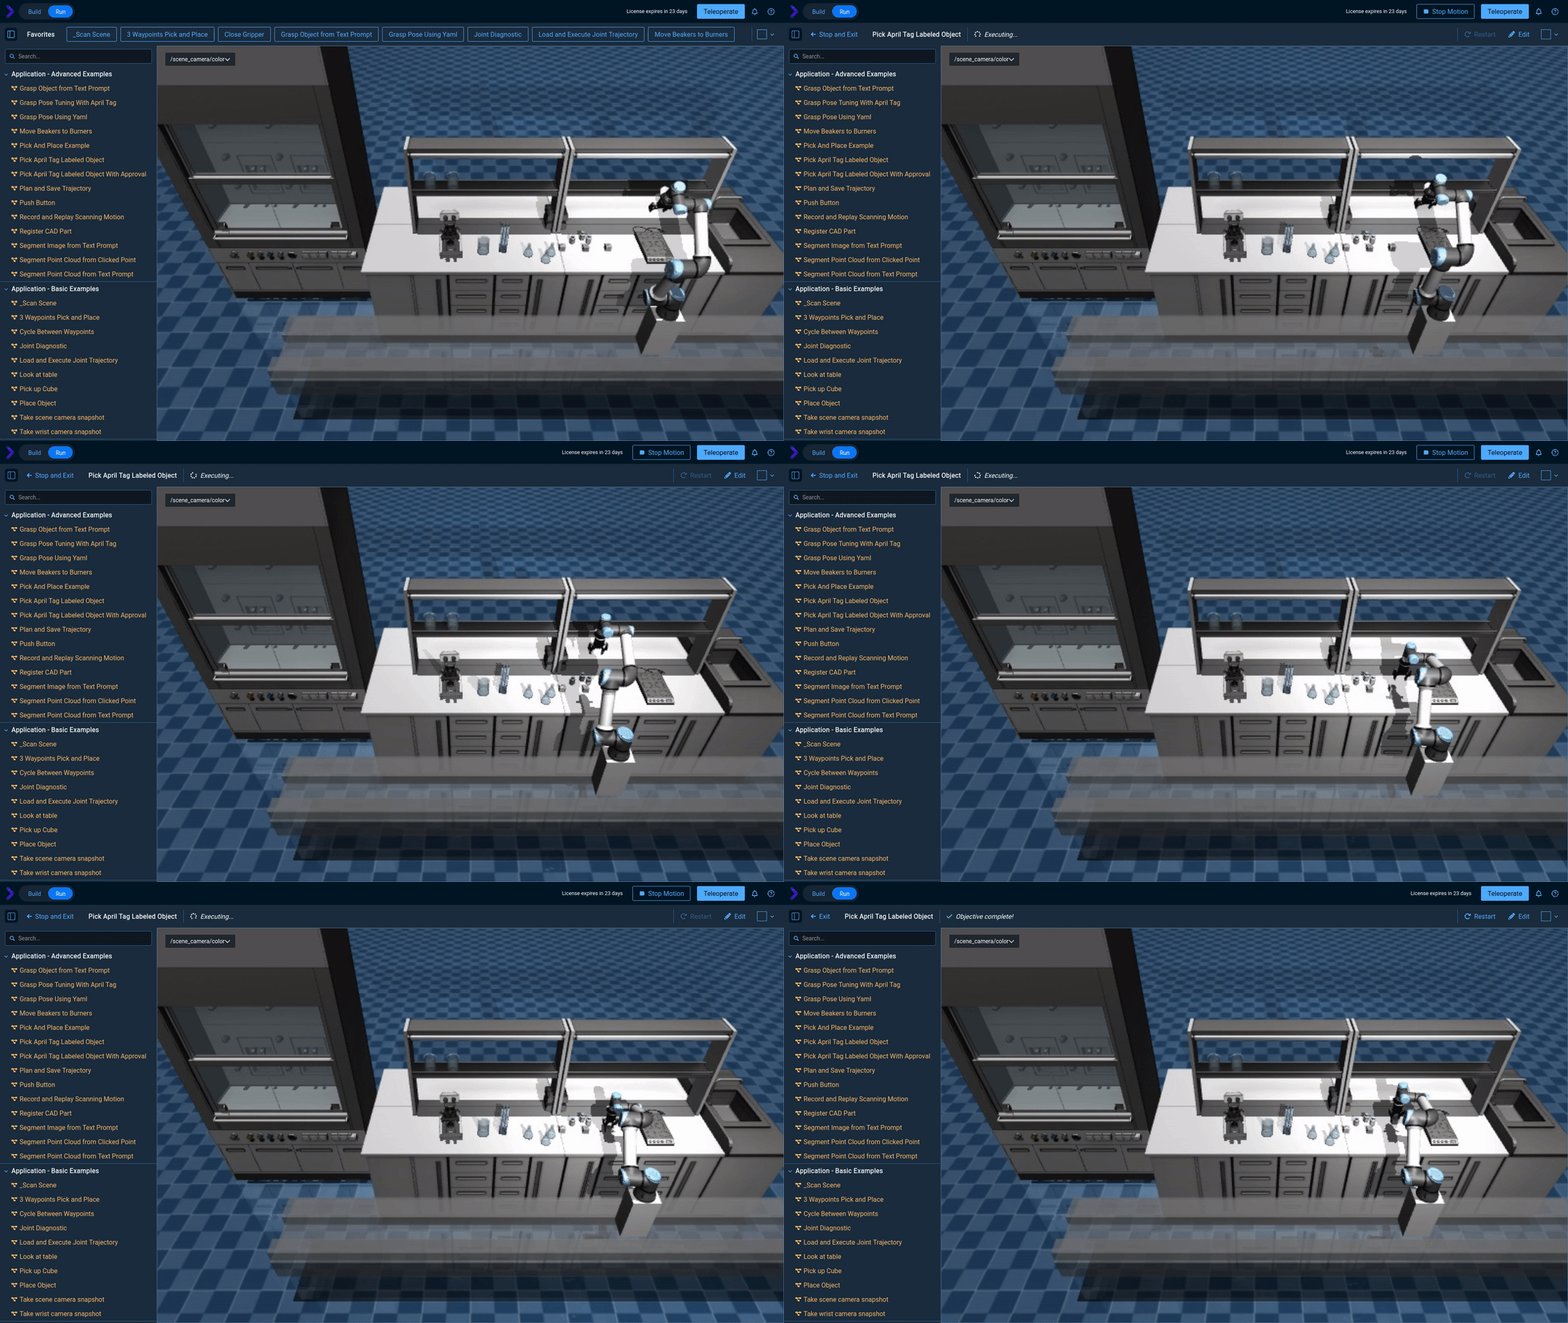
To quickly see an example application (an "Objective") click the Run button on the Pick April Tag Labeled Object Objective under the Application - Advanced Examples section of the Objectives sidebar on the left.
You should then see the robot executing a simple pick and place motion:
Code when you need it, UI when you don’t.
You can also run the MoveIt Pro Runtime in "headless mode" for to be used with our Websocket APIs to enable you to programmatically integrate our runtime autonomy with your software application and company-specific graphical UIs. Our developer UI is optional!
moveit_pro run --headless
Additionally, you can visualize your robot through other tools like RViz, Foxglove, or Rerun:
moveit_pro rviz
Explore other example robot configs
MoveIt Pro ships with 8+ example “robot configs” that you can explore as reference applications. The source code is automatically downloaded from the moveit_pro_example_ws Github repo and available locally at ~/moveit_pro/moveit_pro_example_ws.
These example worlds serve as a starting point you can use for configuring and creating your own robotics applications:
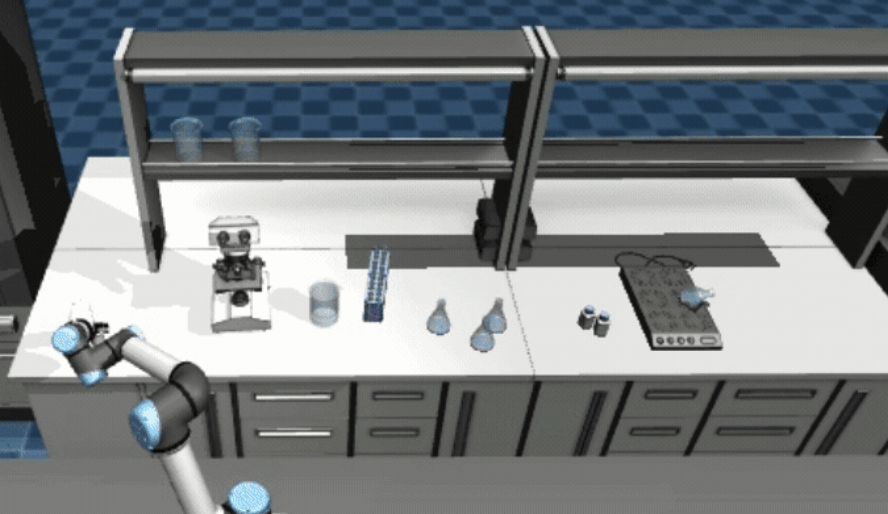 lab_sim
Single arm on linear rail in laboratory environment.
moveit_pro run -c lab_sim
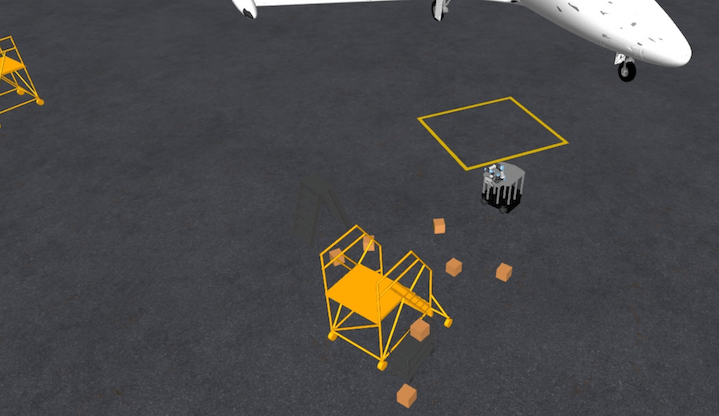 hangar_sim
Mobile manipulator moving cargo boxes in an airplane hangar.
moveit_pro run -c hangar_sim
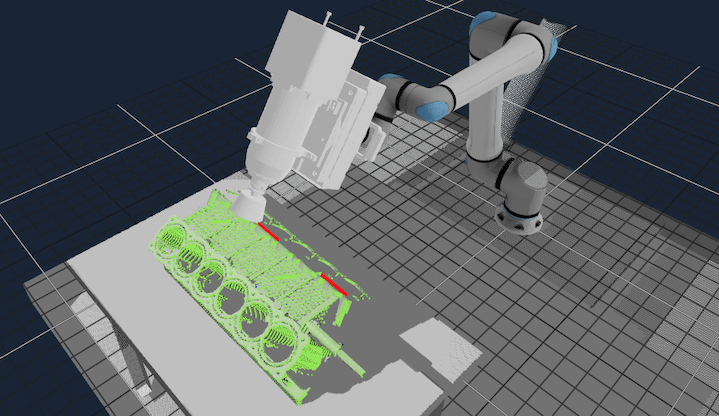 grinding_sim
Engine block machining example with PushCorp end effector on UR10e.
moveit_pro run -c grinding_sim
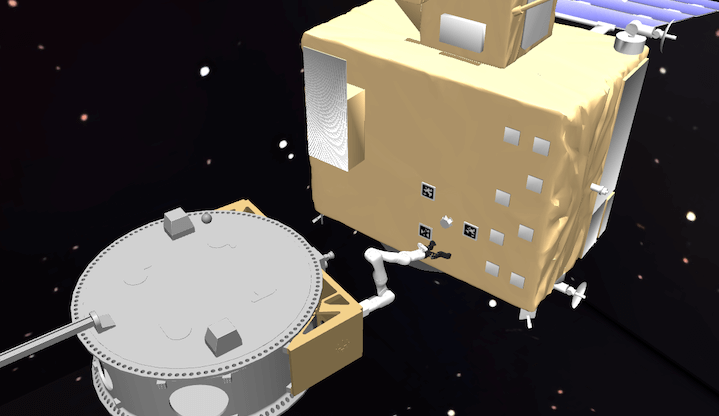 space_satellite_sim
Client and servicer space vehicles performing grappling operation.
moveit_pro run -c space_satellite_sim
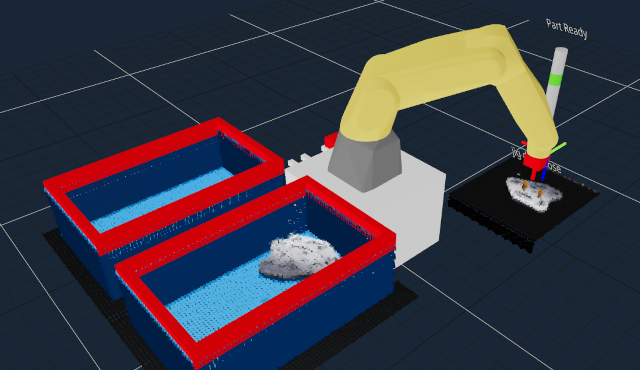 factory_sim
Tool changing and bin picking example for fixed-base industrial arm.
moveit_pro run -c factory_sim
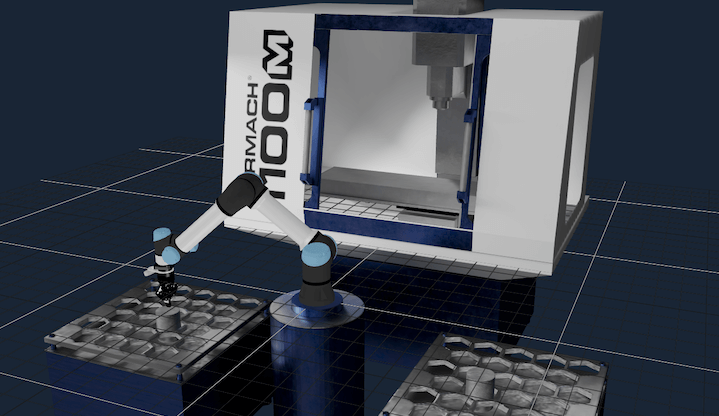 mock_sim
Machine tending demonstration, without high fidelity simulator.
moveit_pro run -c mock_sim
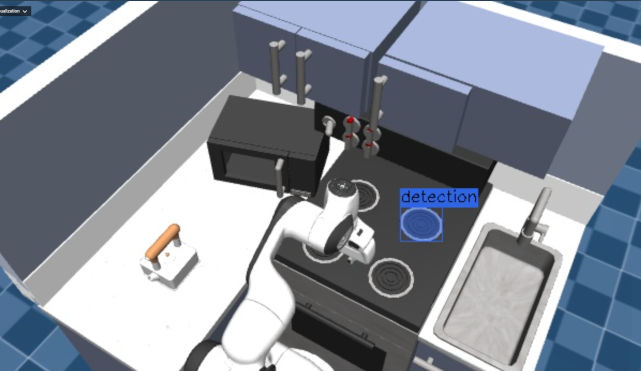 kitchen_sim
ML models demonstration with a Franka arm.
moveit_pro run -c kitchen_sim
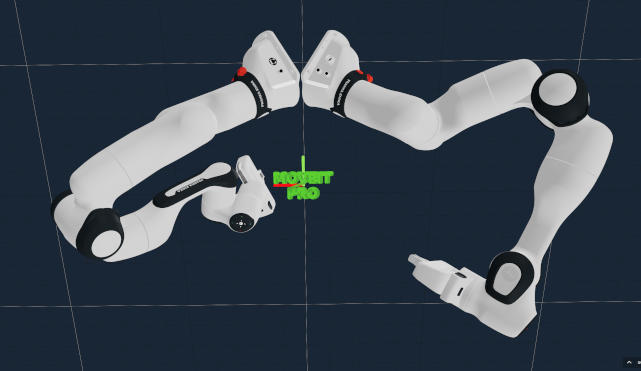 dual_arm_sim
Cartesian writing and wiping demonstration with dual Franka arms.
moveit_pro run -c dual_arm_sim
If you don't want MoveIt Pro to keep launching new tabs in your web browser, you can ask it to skip that step using moveit_pro run --no-browser.
You will have to manually refresh your browser tab every time you do a full restart of MoveIt Pro.
Click on the Next button below to continue through the four getting started tutorials, though we will also go through these live with you during our monthly training courses so you may want to hold off.